Saturday, August 24, 2013

Heirloom Nativity Sampler update

Just an update to show the progress on my Nativity Sampler.  I don't really think it's a sampler in the traditional sense, but whatever.  That's what they're calling it.

 
As mentioned in previous posts, I'm doing two pieces at the same time.  So, the above picture shows both of them.  For this particular project, I am really loving these scroll frames that I found at Hobby Lobby.  Many of you may use them already, but I usually only use my spring hoop, so this was quite a change for me.  I still use my hoop for 95% of my work, however with the delicate nature of the stitching and beads on this particular pattern, I thought I needed something a bit less intrusive.

Top scene (so far)

Middle scene

"Lace" and bead work

Bottom scene (so far)


Still probably a third left to do on each one, but they're progressing and will be finished by Christmas.  As for my other projects I had planned this year, well......I'm not so sure.  I had an unexpected baby gift to do, so I pulled out a stocking I had already made and just stitched the name on real quick (along with an ironing mishap that forced me to do a little creative stitching on the pattern itself to cover up the bleeding red color.  Blasted iron!), then I whipped up a couple of bibs and called the gift complete.  The hardest part was actually turning the cross stitch piece into a stocking.  A experienced sewer I am not.


Hoping to finish the samplers sometime next month, then be able to knock out one more stocking before Christmas to finish the year.

Oh, and I'm looking forward to all the premiere's next month!  Love tv in the fall!

Thursday, August 15, 2013

Teenage Mutant Ninja Turtle Party - Part 4: Putting it all together

 The ultimate TMNT birthday party!!

Ninja balloons!
The Turtles!!

Ninja Turtle tattoos!
The gear!
The food!


We had some big and small ninja turtles that day, but oh, was it a blast!  This is definitely a theme I wouldn't mind doing over again to see what I could do differently.  So much fun, and the kids loved it!  Can't wait until next year!!

Wednesday, August 14, 2013

Teenage Mutant Ninja Turtle Party - Part 3: the food!!

The FOOD!

What party is complete without fun food?!  It's hard not to take advantage of a sewer theme when it's right in front of you!

Algae & Worms 
 I just made a recipe of jello jigglers in a 13x9 pan and cut it into squares when firm.  Mix that with some gummy worms (1 pkg will do nicely), and presto, you have algae and worms!  A ninja turtle's finest dish....before they discovered pizza.

Drainage Dip


Any dip will do nicely here.  I was trying to stick with the green theme, and used a spinach artichoke dip.  Delish!

the Kraang!! (If you watch the show, this makes sense)
If you watch the cartoon on Nickelodeon, then I won't have to explain what the pink brains are.  I bought a brain candy mold off of ebay, and melted down some pink melting candies.  I put a mini marshmallow in each one, so that there would be something chewy on the inside, but that's completely up to the person making them.  You could use nuts, or add peppermint extract too, to add some extra flavor.

Sewer Sludge (aka Punch)
I made this recipe for the punch.  It was really good, and I loved the green color.

the Cake!
Of course, we also had pizza, a ninja turtle's favorite meal, but no birthday party is complete without a cake!  I found the cake pan on ebay and decorated it with the red eye mask, because he is R's favorite ninja turtle.


Upcoming:  Teenage Mutant Ninja Turtle Party - Part 4:  Putting it all together


Tuesday, August 13, 2013

Teenage Mutant Ninja Turtle Party - Part 2: the weapons!

No Ninja Turtle party is complete without weapons, right?  Right.  Here's what I did:


I took 2 small pool noodles and cut them in half.  Then, I used 3 foam pipe insulators (can be found in the plumbing section of any hardware store, or Walmart) and after removing the yellow plastic inside, stuck the two sides together, so that it was a complete tube too.  I cut those foam pipes into thirds, so that I ended up with 9 pieces.  You will need 2 per child, or man-child.  Whoever you've got coming.


Next, I painted the pool noodles brown.  I did 4 of these and 1 can of spray paint was barely enough.  In fact, I still had some of the green showing through, so I think 2 cans would have been better.  (Or, maybe I shouldn't have sprayed the grass so much.)  Let them dry thoroughly.


Lastly, I wrapped electrician's tape around the noodle, like a spiral, then around the top and bottom.  Now, you've got a perfectly good staff, just like Donatello uses!


Back to your insulated tubing that you cut earlier, I took some chain that I had from my hanging plant days, and separated about 4 links per set of nunchucks.  I was going to just hook the chain through one side on each end to attach, but my dad decided to take over the project and put a wire through the foam, then attached the chain to the wire.  Whatever you prefer to do is fine as long as you don't have any sharp edges poking out that could injure someone or put an eye out.  You could also wrap electrician's tape around the top and bottom border of this weapon too, but I kinda forgot.  So, mine are plain.


Voila!  Michelangelo's nunchucks are complete!

I also made some green slime for the kids to take home and play with.  It's so simple to make, but I forgot to take pictures.  The instructions are here.  


Upcoming:  Teenage Mutant Ninja Turtle Party - Part 3:  the Food


Monday, August 12, 2013

Teenage Mutant Ninja Turtle Party - Part 1


It's that time of year again, when I start thinking about R's upcoming birthday celebration.  Since he is the most important thing in my life to date, I usually make a big deal of it.  This year, he has been bitten by the Teenage Mutant Ninja Turtle bug, so it seemed like the appropriate theme for his 6th birthday party!

Although I spent months planning this party, because I have no life I like to be prepared, it really didn't take that much work to throw it all together.  Just a couple of weekends working on the projects, and you're done!  It's really the mental preparation that takes the most time.

Turtle Shells

 I used the basic directions from here.  I did a few things differently though, as you'll see.

Step One:  Painting your shells
If you follow the tutorial above (as I did), it recommends using 2 shades of green.  I used an olive green and a basic grass green spray paint.  Then, I sprayed all of the pans.  I wasn't sure which color should go on top, so I did 2 of them with the olive green color first, and 2 with the grass green color first.
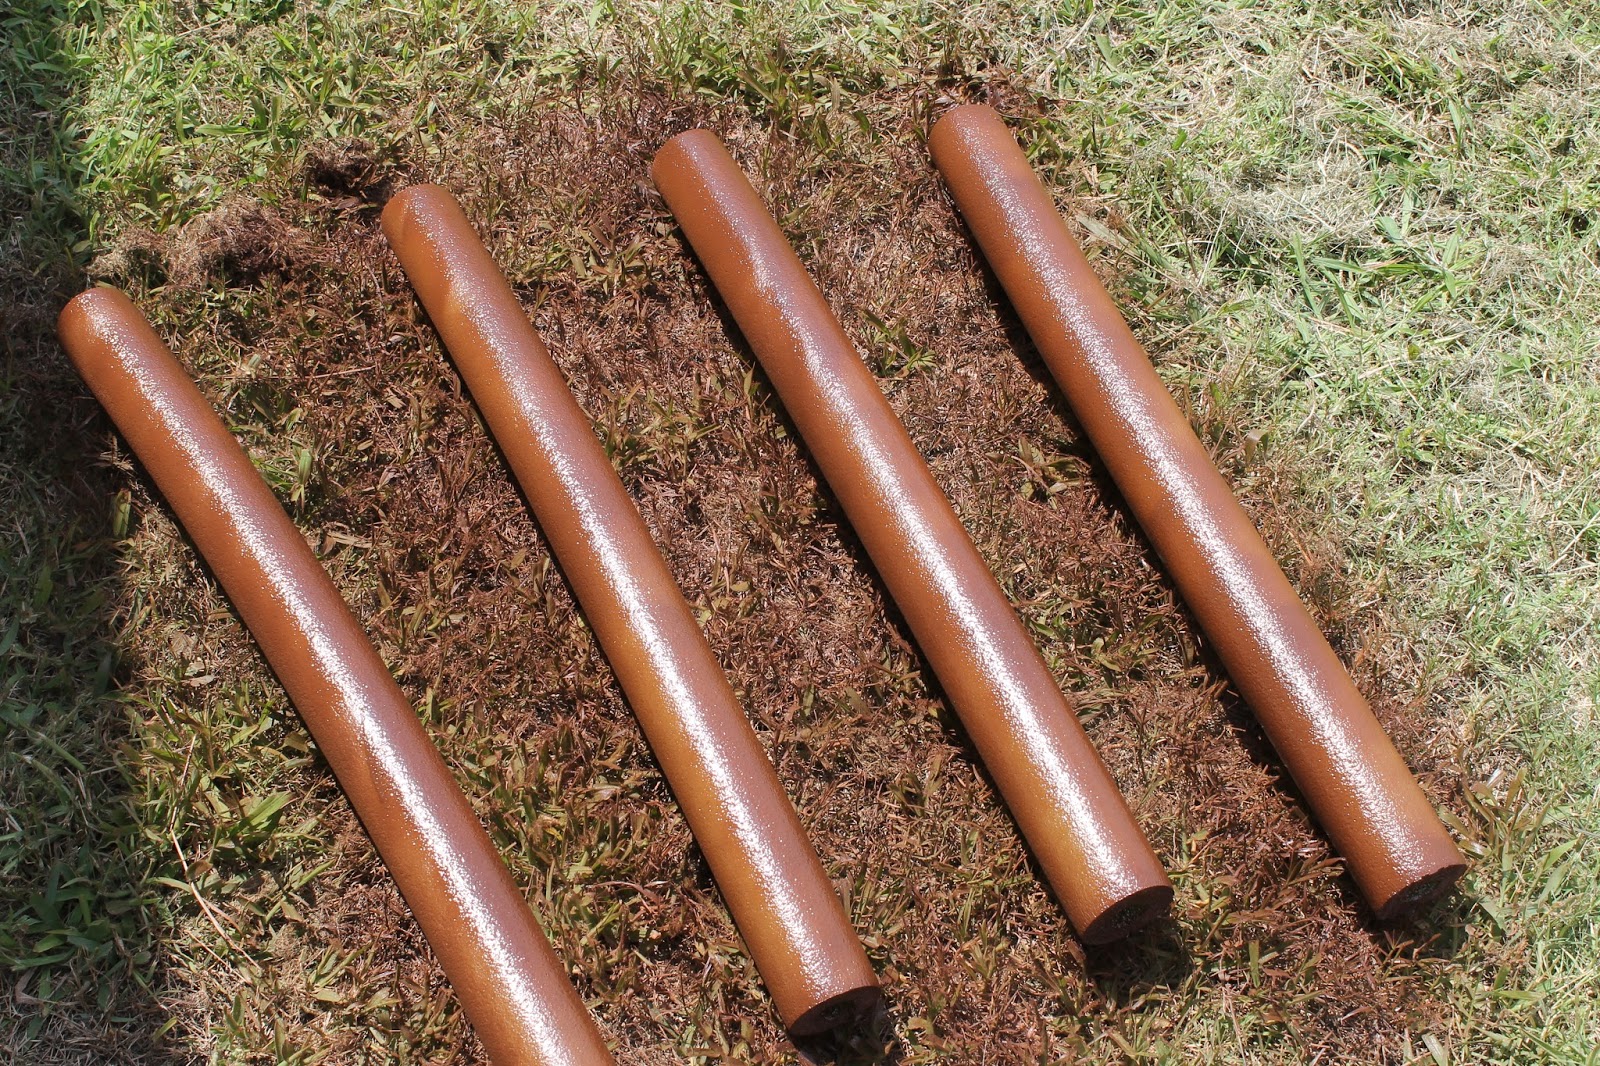
Buy one extra foil roasting pan and cut out the natural indentions in the pan with an Xacto knife.  Use this as a stencil to paint a 2nd color of green over the first.  I also threw in a few brown splotches here and there, to make it look a little more authentic.  Well, as authentic as a foil "turtle shell" can be, anyway.  I was painting something else brown at the same time, so it was no trouble.
  I think they turned out well.

Step Two:  Attaching the Harness
I bought a 4 foot spool of 3" brown ribbon (unwired), and cut it into 8 equal strips, which would make them 1/2 foot each.  You need 2 for each shell.  Then, I attached some large half-rings (I know they have a name, but I've forgotten it) to 4 of the ribbons, so that each shell gets a ribbon with the rings and a plain ribbon.   I ran the ribbon through the sewing machine to attach the rings, but you could also glue the ribbon.  Hot glue or I imagine super glue would work fine.

Next, I used the Xacto knife again to cut at least 3" slits into sides caddy corner from each other.  You might have to cut several times to get the knife through the gathered parts of the foil.  It's not difficult though, just make sure you get through.

Then, I slipped the ribbon through the holes and hot glued the ribbon together so it would stay in place.

And, you're done!  It was really an easy project with a LOT of payoff.  The kids loved them, and I thought they looked great too!

Eye Masks

Next were the eye masks, in the ninja turtle colors of red, blue, orange, and purple.
I bought 1/2 yard of each color.  Then, I cut strips off about 3" in width.  I wrapped it around R's head to measure where the eye holes should go, and marked it with a Sharpie.  After that, I just cut out diamond holes where I had marked it.

I made two of each color.  One with the eye holes, one without.  I wanted the kids to have a belt in the same color, so that they could stick their weapons (see tomorrow's post!) in it.


Upcoming:  Ninja Turtle Party - Part 2: the Weapons


Follow Me